
Woodland animal motifs—sleepy foxes, coiled hedgehogs, whimsical badgers, and forest owls—occupy a beloved niche in artisan polymer clay collections. Their charm rests on stylized facial expressions: peaceful closed eyelashes, geometric snout patches, and clean contrasting eye masks. However, hand-painting these fine graphic details on tiny 20mm earring blanks with a paintbrush requires surgical hand stability and consumes immense bench time.
When makers attempt to paint freehand on smooth clay slabs, acrylic pigment inevitably bleeds across the untextured surface, lines vary wildly from earring to earring, and color blocking appears messy. Furthermore, if cutters feature closed double-wall ridges for facial details, tiny clay cores get jammed inside the cutter and tear out of the piece during demolding.
To solve this production challenge, CutClay Studio engineered the Cuties and Wildlife collections (catalog series cuties_001 through cuties_017 and wildlife series animals_001 through animals_072). These tools leverage single-centerline debossing architecture to create miniature paint dams directly on raw clay. In this comprehensive guide, we dissect the mechanics of single-pass relief stamping and detail the alcohol-wipe paint technique that produces crisp, enamel-pin quality finishes on cured clay.
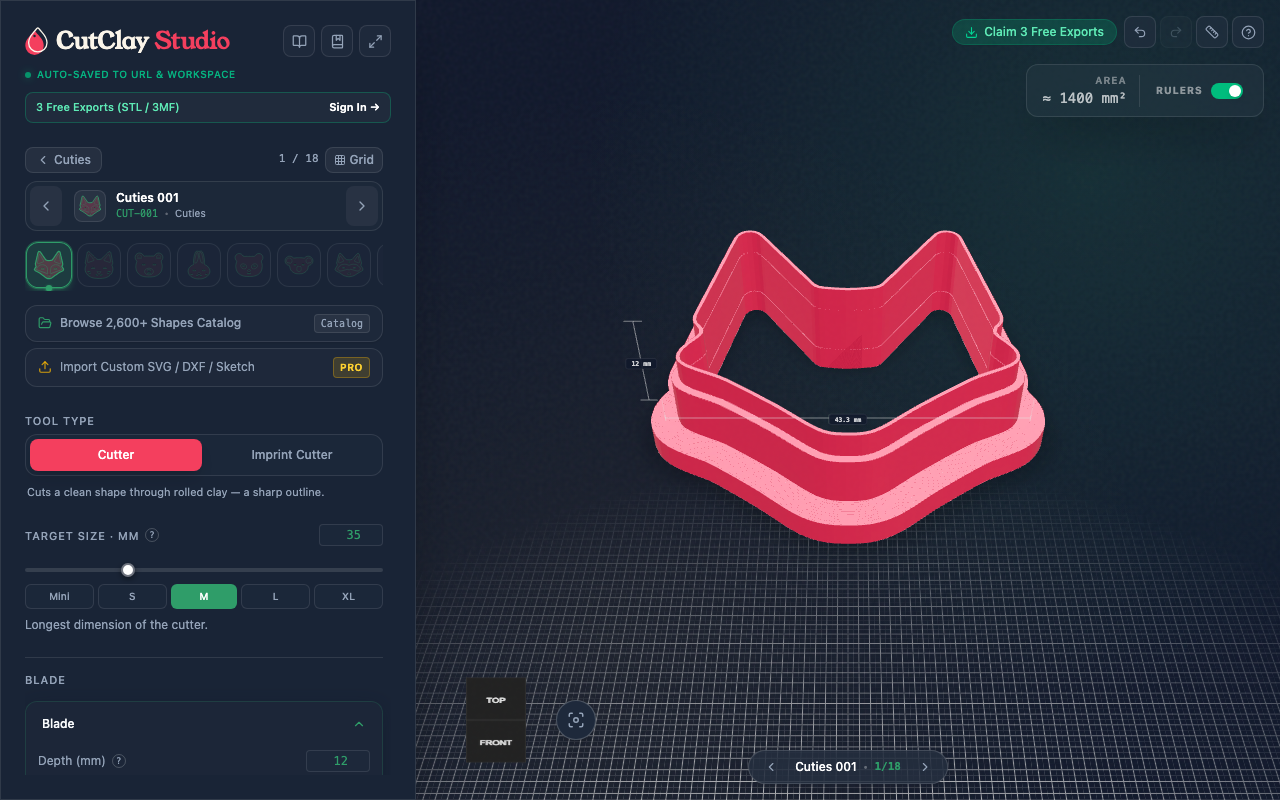
Single-Centerline Stamping Architecture: No Trapped Clay Cores
Traditional vector clipart often represents facial features as closed geometric paths (for instance, an eye drawn as two concentric closed loops). In a 3D-printed cutter, a closed interior loop forms a physical cylinder that traps an isolated core of raw clay. When you lift the cutter, atmospheric suction pulls the eye core right out of the fox’s face, ruining the earring blank.
CutClay’s Cuties shapes replace closed volumetric details with single-centerline deboss ribs:
- Open Rib Terminations: Whisker lines, curved eyelashes, and mask dividing lines do not form closed entrapment cavities. They operate as continuous single-pass blades anchored to the cutter’s upper support frame.
- 0.9mm Calibrated Stamping Depth: The interior ribs are stepped back 1.1mm above the primary cutting edge. When the outer 0.4mm perimeter blade cuts through a 2.5mm slab down to the tile, the internal ribs press exactly 0.9mm into the upper clay surface.
- V-Profile Cross Section: Rather than having flat vertical walls, the interior ribs feature a 25° V-shaped wedge profile. This creates clean paint channels with sloping sides that release from sticky clay with zero surface drag.
Painting Debossed Masks: The Alcohol-Wipe Enamel Technique
The primary benefit of CutClay’s single-centerline debossing architecture is that it transforms hand-painting from an imprecise art into a rapid, repeatable manufacturing step. By creating recessed channels on the cured clay, makers can use surface tension to flood color fields like cloisonné enamel:
- Channel Boundary Containment: The 0.9mm deep V-groove acts as a capillary barrier. When liquid acrylic paint or water-based pigment is introduced into the white cheek partition of a fox, surface tension prevents the paint from spilling over the groove into the terracotta forehead.
- Flawless Spill Cleanup: If paint accidentally strays onto high surfaces, it can be wiped away completely without smudging, provided the clay has been cured and cooled.
Inspect the intricate facial registers of CutClay Studio’s cuties_001 sleepy fox or explore all woodland wildlife companions across the cuties category catalog.
Parametric Sizing for Woodland Cuties
To ensure that debossed facial lines remain bold and legible after baking, maintain these parametric dimensions in CutClay Studio:
| Design Dimension | Recommended Value | Production Benefit |
|---|---|---|
| Target Height (Earrings) | 24.0 mm – 28.0 mm | Strikes balance between wearability and facial detail visibility |
| Target Height (Pendants) | 35.0 mm – 42.0 mm | Allows secondary color blocking across snout and ears |
| Deboss Imprint Depth | 0.90 mm – 1.00 mm | Deep enough to hold acrylic wash without weakening clay core |
| Imprint Blade V-Angle | 25° inclusive wedge | Smooth taper ensures frictionless vertical extraction from raw slab |
| Blade Cutting Edge | 0.40 mm | Sharp extrusion slices clean perimeter without ragged flashing |
3D Slicer Configuration: High-Fidelity Centerlines
When 3D printing cutters with fine internal detail lines, set your slicer to ensure thin centerline ribs receive full plastic extrusion without gap voids:
| Slicer Setting | Value | Operational Reason |
|---|---|---|
| Slicing Engine | Arachne Wall Generator | Adjusts extrusion width on the fly to print sharp rib apexes |
| Layer Height | 0.12 mm | Captures smooth vertical contours on curved eye deboss ribs |
| Wall Loops | 3 loops minimum | Prevents internal voids inside the 0.4mm outer knife edge |
| Infill Pattern | Gyroid (25%) | Maintains structural compression strength on the cutter roof |
| Retraction Speed | 40 mm/s | Prevents fine stringing wisps between eyes and ear perimeters |
Studio Bench Workflow: Alcohol-Wipe Color Inlaying
Follow this reliable 4-step production workflow to finish dozens of woodland wildlife earrings in a single studio session:
- Slab Stamping: Roll conditioned clay (e.g. Sculpey Premo in Burnt Orange or Raw Ochre) to 2.5mm thickness on a ceramic tile. Dust cutter lightly with cornstarch. Press straight down with even palm pressure until the outer blade seats firmly on the tile. Lift straight up.
- Bake Solid: Bake on the tile at 135°C (275°F) for 45 minutes to achieve maximum strength and chemical resistance. Allow the pieces to cool completely before touching them.
- Flood the Channels: Using high-pigment acrylic paint (such as Golden High Flow or Posca paint markers), flood the debossed eye and whisker grooves with black or deep brown pigment. If color-blocking cheeks, paint opaque white acrylic across the entire cheek zone, letting it pool inside the debossed boundary grooves.
- Isopropyl Surface Buffing: Wait approximately 45 to 60 seconds until the paint begins to set but remains slightly pliable. Wrap an ordinary 70% isopropyl alcohol prep wipe around your fingertip. Lightly swipe across the raised face surfaces. The alcohol removes all surface paint hazing instantly, while leaving the deep pigment undisturbed inside the debossed channels. The result is a sharp, professional graphic finish that rivals manufactured enamel pins.
Explore CutClay Studio’s complete cuties collection and start printing sweet woodland jewelry tools for your holiday drops.