
Florals sell all year in polymer clay jewelry, and daisies most of all. From spring bridal collections to vintage cottagecore drops on Etsy and Instagram, daisies get strong engagement and good prices.
Yet for clay makers and 3D printing designers, multi-petal floral cutters come with a few printing problems:
- The “Cookie-Cutter” Flatness Problem: A basic outline cutter produces a blank silhouette. Without internal petal definition, the finished piece looks flat and unfinished unless the artist spends ten minutes per piece hand-carving creases with a needle tool.
- Delicate Inter-Petal Tear-Out: Where two curved petals meet at a sharp inner crease, soft unbaked clay tends to stick, drag, or deform when the cutter is lifted from the clay tile.
- Imprint Height Calibration: If internal vein ribs are too deep, they sever the petals; if they are too shallow, the stamped impression disappears during baking or sanding.
In this fifth installment of our Shape Tutorial Series, we explore how to design, configure, and 3D print the A-13 Modern Scalloped 10-Petal Daisy Cutter (shape flowers_057) in CutClay Studio — featuring an engineered dual-action profile that cuts the outer perimeter while simultaneously embossing crisp radial petal veins and a center pistil hub in a single press.
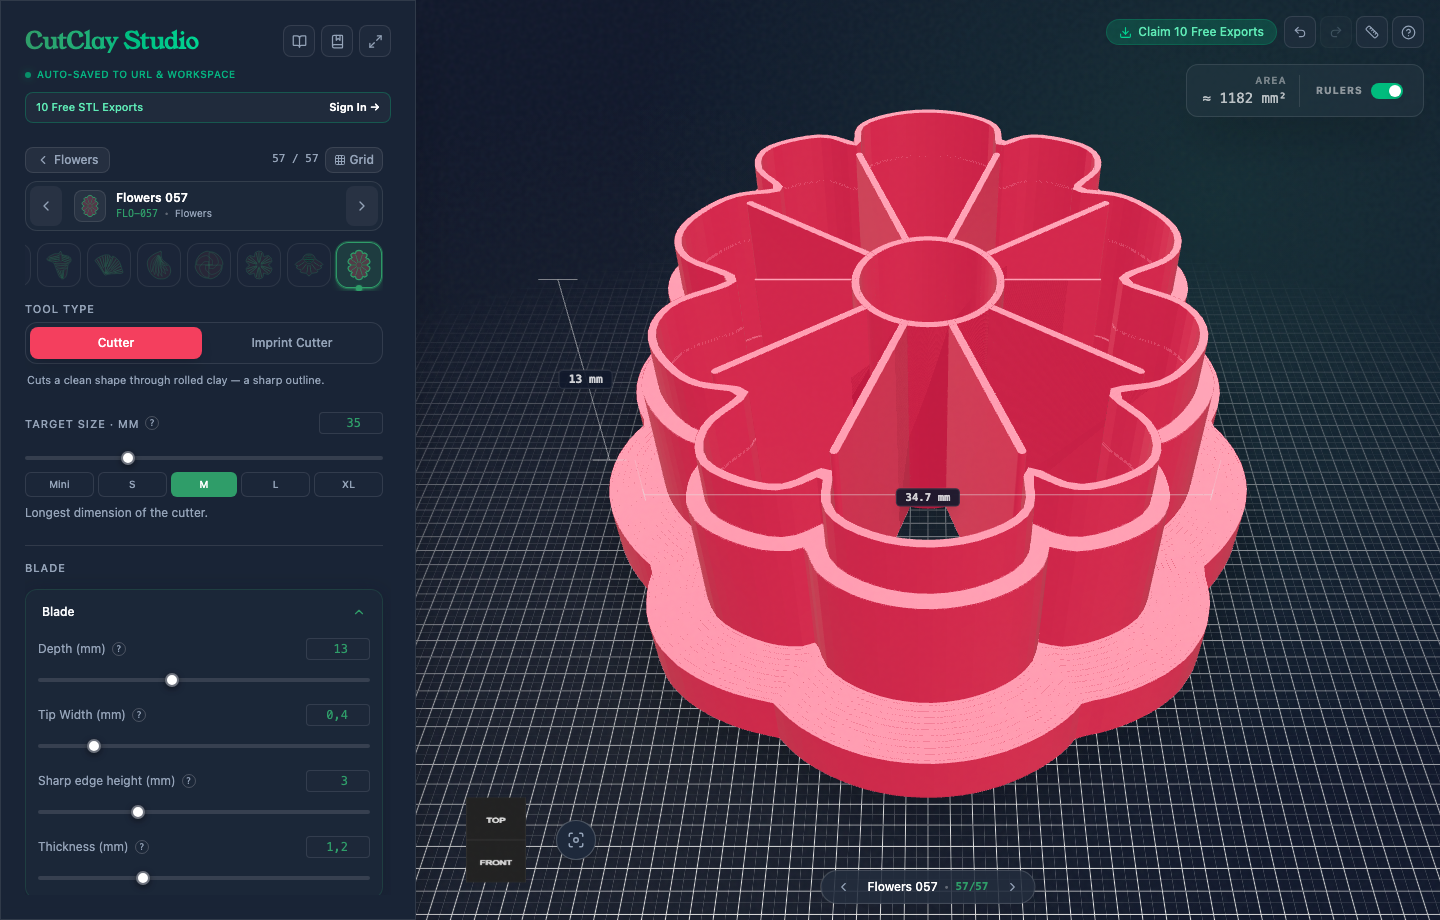
Step 1: Choosing Floral Scale & Proportions
Launch CutClay Studio with Flowers 057. The 3D viewport instantly visualizes the complete 10-petal geometry along with real-time millimeter bounding dimensions.
Under Cutter Size, choose the ideal diameter based on your jewelry collection’s role:
- 35 mm – 40 mm (Statement Drop): Ideal for standalone dangling earrings or tiered floral chandeliers. The 35 mm diameter provides ample surface area for the 10 cascading lobes and central core.
- 28 mm – 32 mm (Mid-Size Dangles): A versatile everyday size that pairs well with solid-color pastel clay slabs (like Soufflé or Fimo Soft).
- 18 mm – 22 mm (Floral Studs): Compact botanical studs designed to sit directly on the earlobe with hypoallergenic titanium posts glued to the flat back.
Step 2: Dual-Action Geometry (Blade vs. Imprint Stepping)
The secret to a professional floral cutter lies in the vertical offset between the outer cutting perimeter and the inner texture ribs:
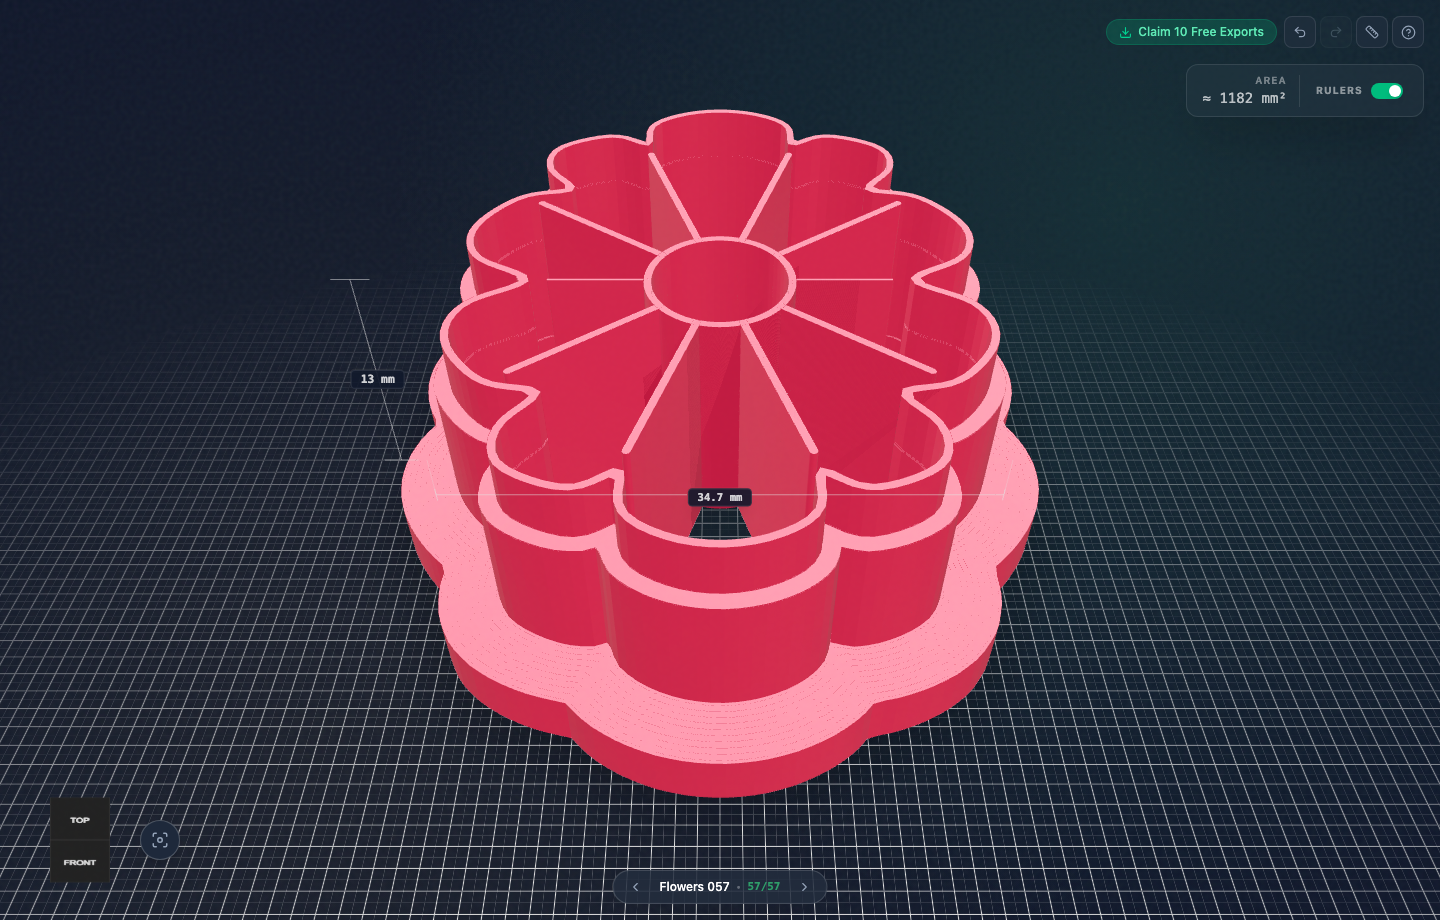
- Outer Blade Tip Width:
0.4 mm— Matches standard 0.4 mm 3D printer nozzles for a crisp single-extrusion cutting edge. It glides through conditioned clay without dragging or distorting soft petal curves. - Blade Thickness:
1.2 mm— Reinforced backing behind the cutting tip. When pressing through dense, firm clay slabs (such as Kato Polyclay or Premo), this solid wall prevents the blade walls from bowing inward. - Blade Depth (Height):
13.0 mm— Generous vertical clearance that keeps hands and knuckles well clear of the clay slab during pressing. - Sharp Edge Height:
3.0 mm— Vertical height of the razor edge before smoothly tapering outwards into the reinforced body. - Imprint Rib Clearance:
2.5 mm – 3.0 mm Recess— The center pistil hub and radial petal dividing lines sit safely recessed below the cutting edge. When you press the cutter firmly through rolled clay (3 mm or 2.5 mm slab thickness), the outer blade cuts through to your ceramic tile, while the internal ribs press approximately 0.8 mm into the clay surface — creating clear, permanent definition without cutting the petals apart.
Step 3: Outward-Only Offsets on Complex Scallops
In traditional CAD software, applying an outward wall offset to a shape with 10 tight convex lobes and 10 acute concave valleys frequently produces self-intersecting meshes or “chord bridges” across the valleys. This ruins the crisp valley between petals.
CutClay Studio’s mathematical geometry engine enforces strict outward-only expansion. The interior contour of each petal valley remains 100% faithful to the vector path. All structural walls, bevels, and handles expand strictly outwards, ensuring clean clay release with zero post-cut clean-up.
- Handle Width:
3.0 mm— Provides a smooth, comfortable brim for even palm pressure across all 10 petals. - Handle Height:
3.0 mm— Solid structural foundation that resists flexing even during heavy batch-cutting sessions.
Step 4: Mirrored Pairs for Matching Earrings
While a daisy has rotational symmetry, subtle hand-drawn flourishes and asymmetrical hole placements make mirrored fabrication essential for premium earring collections.
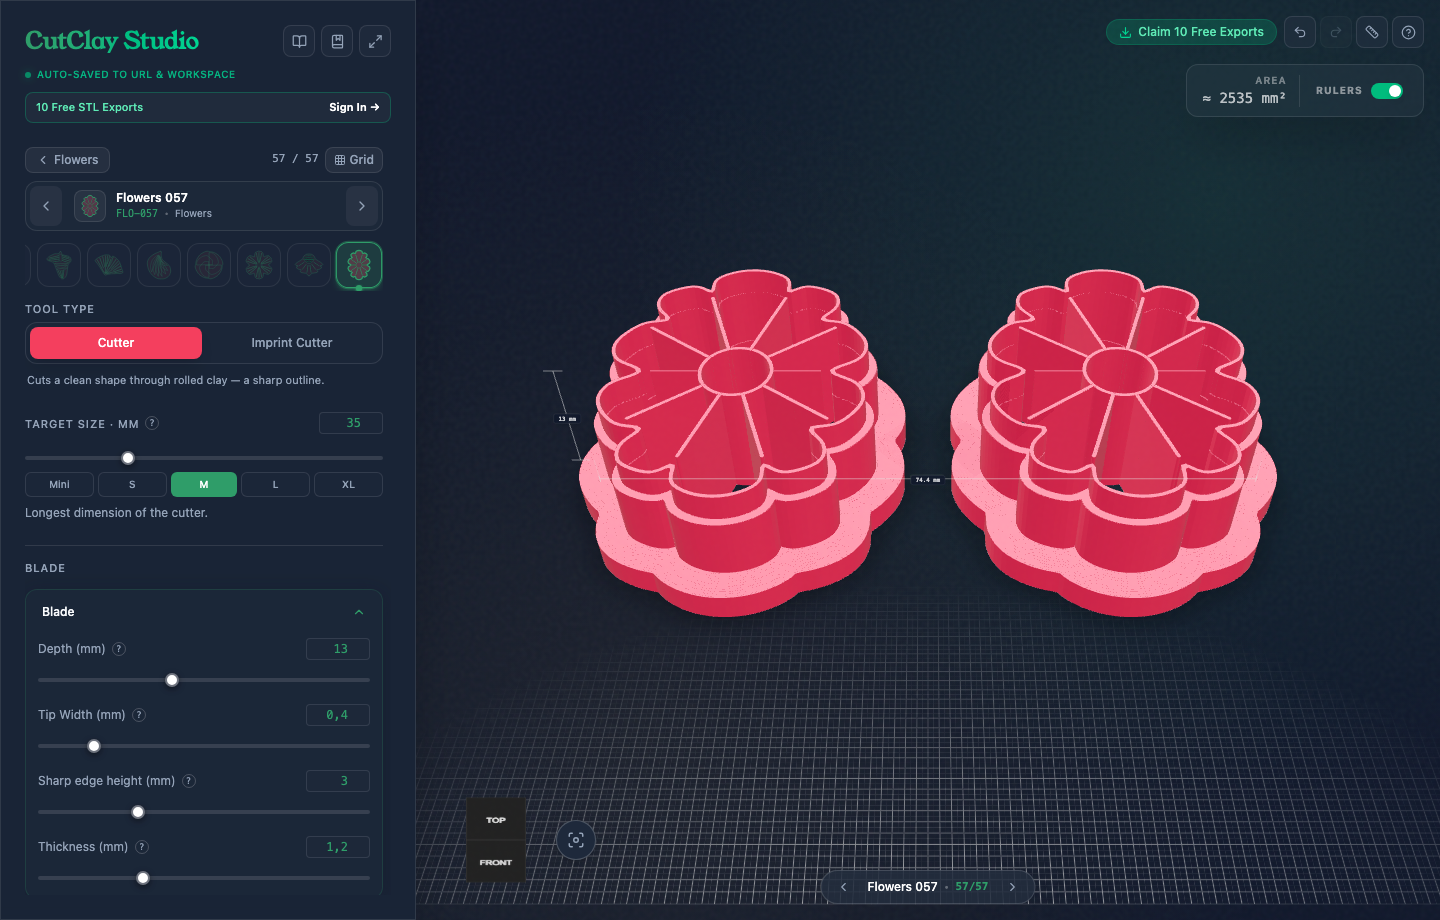
By toggling Mirrored Pair Mode, CutClay automatically computes an inverted twin with matched tolerances. You can print both cutters simultaneously on your 3D printer build plate, ensuring exact dimensional consistency between the left and right ear drops.
Instant Daisy Cutter Template Link:
Load this exact 35mm Scalloped Daisy cutter template directly in your browser:
Launch the 35mm Daisy Cutter Template in CutClay Studio →
Step 5: 3D Slicer Settings for Floral Imprint Cutters
Floral cutters with internal imprint ribs require precise slicer tuning to ensure the thin ribs bond cleanly to the base without stringing:
| Setting | Recommended Value | Reason |
|---|---|---|
| Layer Height | 0.16 mm (or 0.12 mm) | Renders silky-smooth curvature on the 10 petal scallops |
| Perimeters / Wall Loops | 3 walls | Ensures all petal walls and internal imprint ribs print 100% solid |
| Seam Position | Nearest or Rear | Prevents seam zits along the delicate inner cutting perimeter |
| Z-Hop / Retraction | 0.4 mm Z-hop | Eliminates nozzle collision when traveling across delicate imprint ribs |
| Ironing (Top Layer) | Enabled on top surfaces | Produces a glass-smooth handle that feels comfortable in hand |
Pro Maker Tip: Finishing & Embellishing Imprinted Petals
Once your daisy shape is stamped and cut into polymer clay, maximize the visual impact of the embossed veins:
- Cornstarch Dusting: Dip the cutter lightly into cornstarch or water before pressing. This ensures clean release with zero clay clinging to the narrow petal valleys.
- Mica Powder & Soft Pastels: Brush gold mica powder or soft chalk pastel dust gently over the raised center hub and along the radial petal ridges before baking. The debossed grooves catch shadows, giving your floral jewelry remarkable depth.
- Resin Dome Finish: After baking, apply UV resin to the center hub for an amber honey-drop effect, or brush matte sealant across the petals for an organic porcelain finish.
Design Your Own Custom Floral Cutters
Browse 2,000+ shapes, including florals and geometrics, or import your own SVG in CutClay Studio with instant 3D preview and export.